Managing inventory is one of the key parts of running a successful Shopify store. Your inventory location decides where products are stored, how quickly they ship, and how smooth your fulfillment process is.
Many growing businesses switch to 3rd-party locations like warehouses or dropshipping partners to save time, reduce shipping delays, and handle larger order volumes. With the help of a Shopify Expert, setting up these new locations can be quick and error-free.
In this guide, you’ll learn what inventory locations are, why 3rd-party fulfillment matters, and how to change your Shopify inventory location step-by-step.
What Is an Inventory Location in Shopify?
Before jumping into the “how,” let’s understand the “what.”
In Shopify, an inventory location refers to any place where you store and manage your products. It could be your retail store, a local warehouse, or a fulfillment center that ships orders for you.
Each location helps Shopify track where each product is and ensures that orders are fulfilled from the right place.
For example:
- If you sell handmade products from home, your home is your main inventory location.
- If you partner with a warehouse that stores and ships your products, that warehouse becomes a 3rd-party inventory location.
Why Change to a 3rd-Party Inventory Location?

So, why do so many store owners make the switch to a 3rd-party inventory location? As one entrepreneur once said, “Don’t spend your time packing boxes when you could be growing your business.”
Here are a few key reasons:
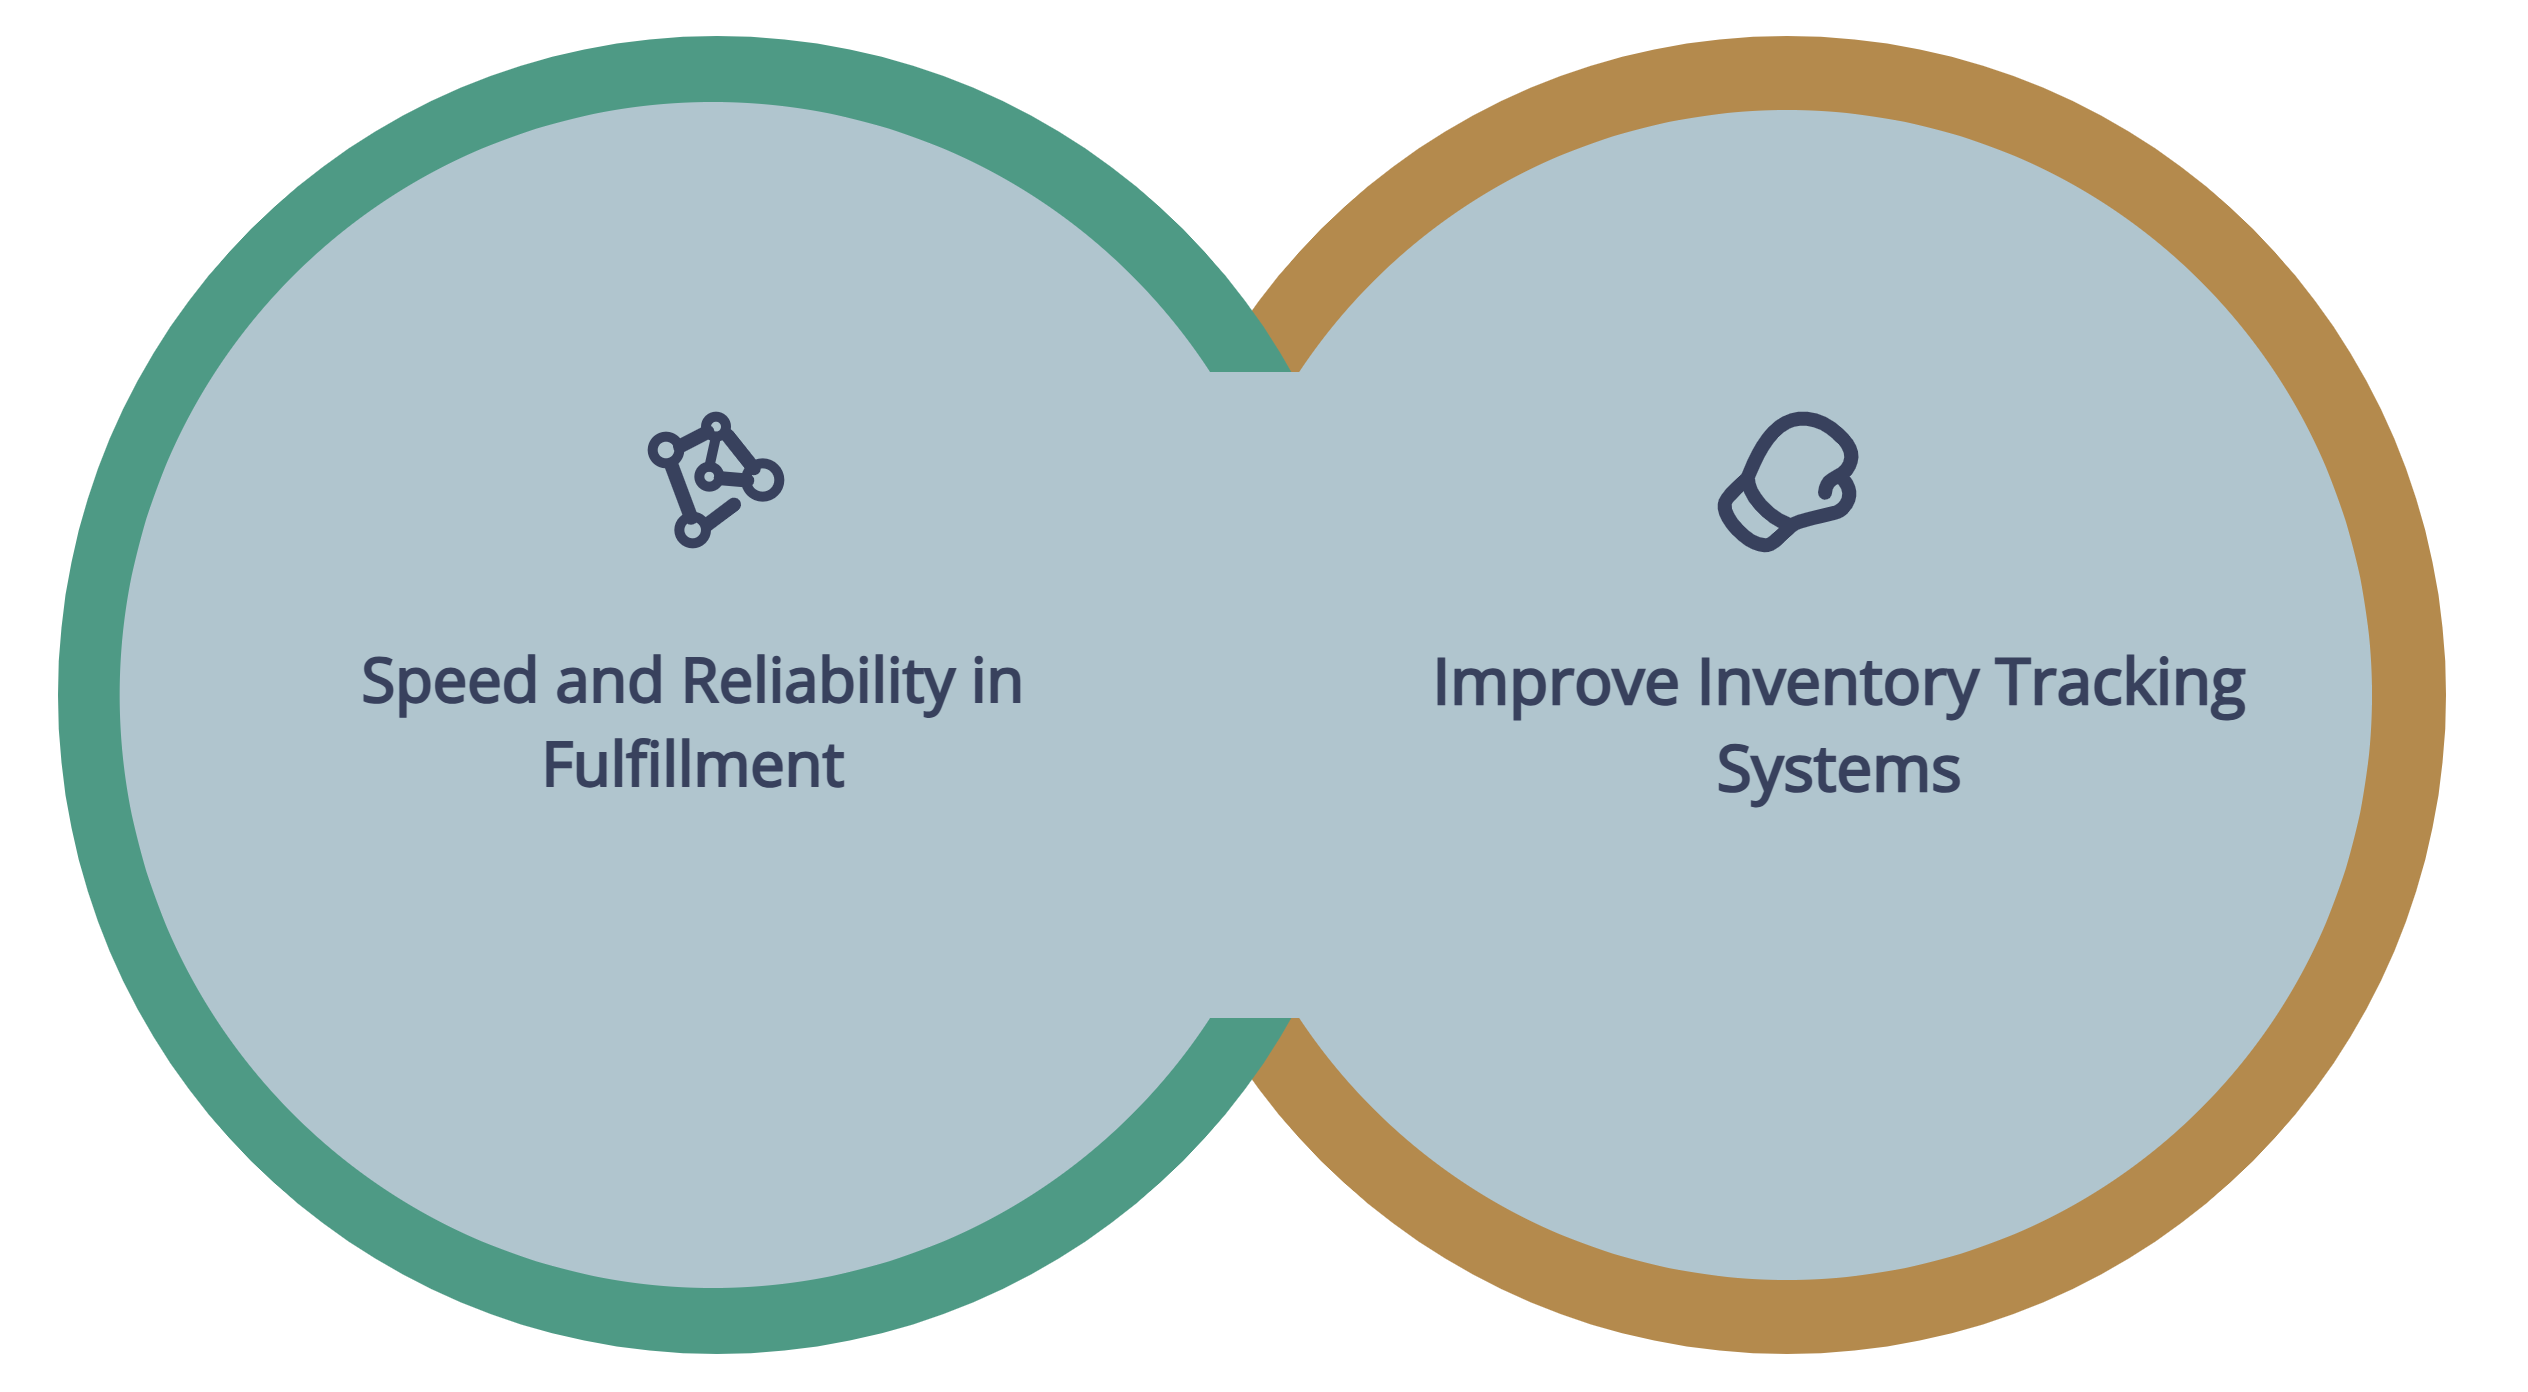
- Faster and more reliable fulfillment: Partnering with 3rd-party fulfillment centers helps you deliver products to customers faster, especially when they have multiple warehouses across regions or countries.
- Better inventory tracking and global reach: You can track inventory in real time and offer international shipping with ease. Many 3rd-party services also handle returns and packaging for you.
- Easier business scaling: As your store grows, you won’t have to worry about finding extra storage space or hiring staff for fulfillment. The 3rd-party provider handles that part.
How to Add a New Inventory Location in Shopify
Adding a new inventory location in Shopify is simple. Follow these easy steps:
- Log in to your Shopify admin.
- Go to Settings → Locations.
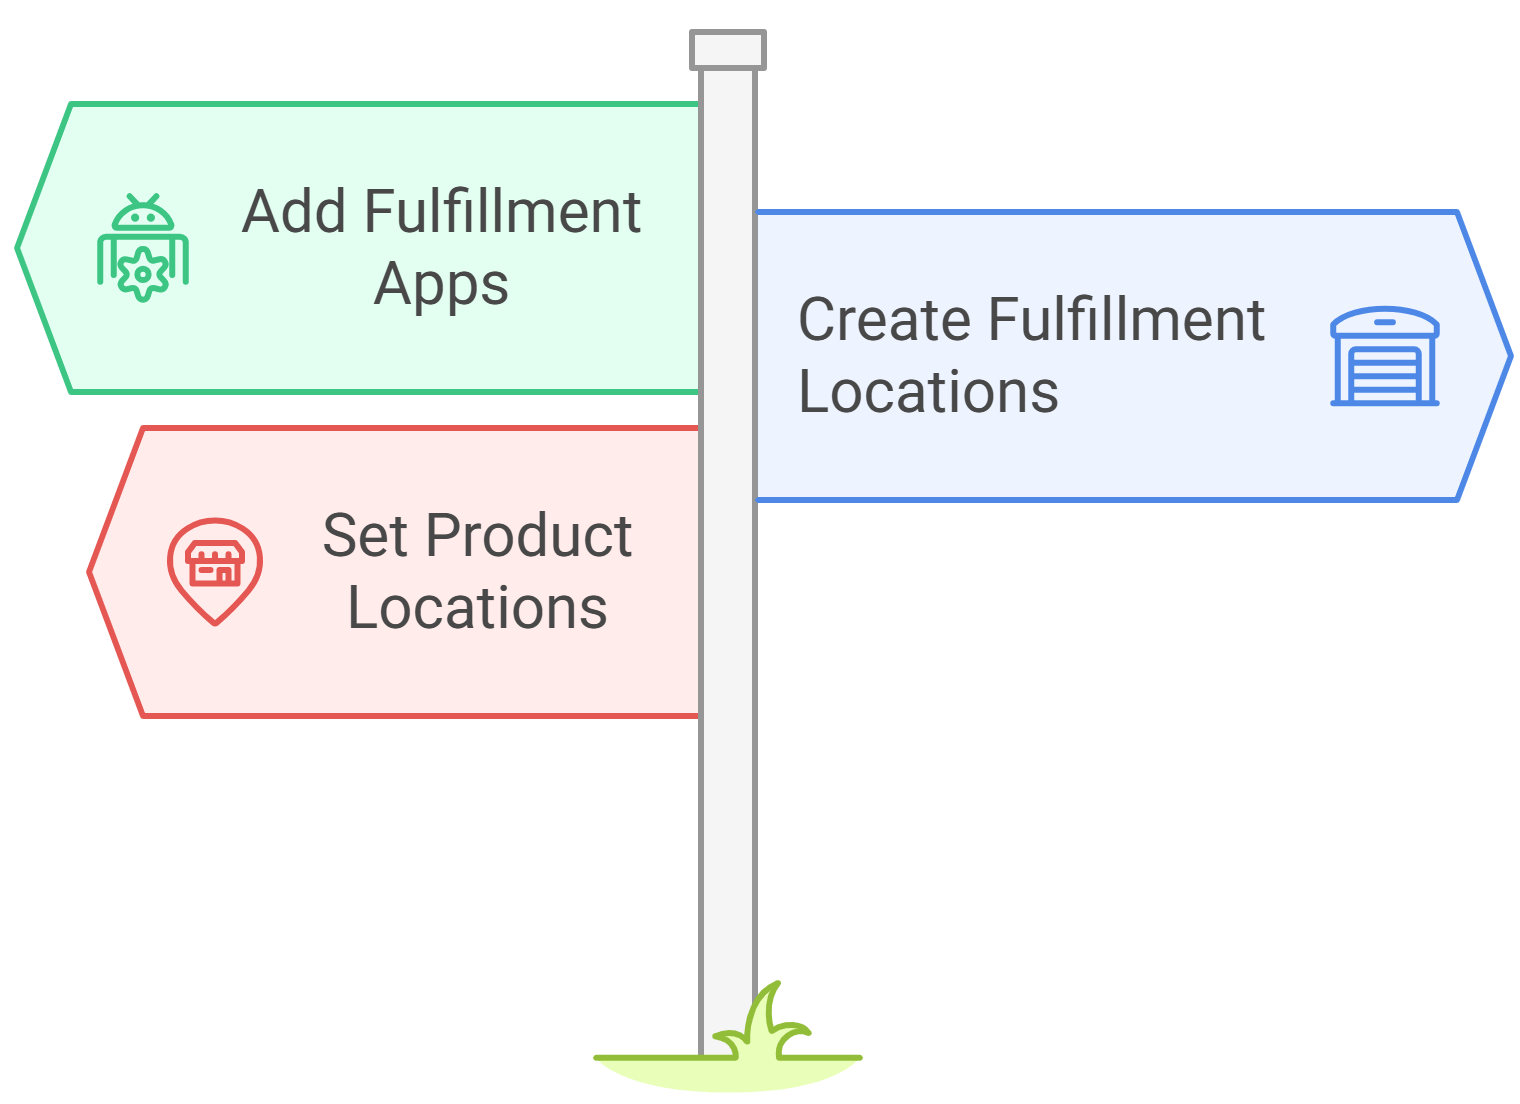
- Click Add location.
- Enter the name and address of your new 3rd-party location.
- Click Save.
Tip: Give each location a clear, descriptive name like “Main Warehouse – NY” or “ShipBob Fulfillment Center.” This will make it easier to identify and manage later on.
Adding a new location is often the first step before you switch products over to it.
How to Change Your Inventory Location to a 3rd Party
Once you’ve added your 3rd-party location, it’s time to update your inventory settings so your products are fulfilled from there.
Here’s how:
- In your Shopify admin, go to Products → Inventory.
- Find the product (or multiple products) you want to update.
- Under the Location section, choose the new 3rd-party location.
- Update the stock quantity for that location.
- Click Save.
That’s it! You’ve successfully switched your inventory to a 3rd-party location.
If you’re managing many products, it’s often worth consulting a Shopify expert Developer to help automate bulk updates or custom workflows, especially if you use multiple warehouses or dropshipping partners.
How to Connect 3rd-Party Fulfillment Services
Shopify makes it easy to connect fulfillment services like ShipBob, Amazon FBA, Rakuten, or other third-party logistics providers.

Here’s how:
- Go to your Shopify admin and click Apps.
- Search for the fulfillment service you want to use (for example, “ShipBob” or “Amazon FBA”).
- Click Install App and follow the prompts to connect your Shopify store.
- Once installed, set up the fulfillment service as a new location in your Settings → Locations tab.
After that, you can assign specific products to be fulfilled by that service.
Example:
Let’s say you sell clothing. You could fulfill local orders from your home and international orders from a 3rd-party warehouse like ShipBob. Shopify automatically sends the right orders to the right fulfillment center.
This integration is one of the most convenient parts of Shopify Development, allowing even small businesses to operate like large-scale eCommerce brands.
How to Modify or Delete an Existing Location
Sometimes you may need to rename, move, or delete a location. To do that:
- Go to Settings → Locations in your Shopify admin.
- Click on the location you want to edit.
- Update details like the name or address.
- To remove a location, click Deactivate location at the bottom of the page.
Note: Before deleting any location, make sure all inventory quantities are transferred elsewhere. Otherwise, you could lose track of stock levels or orders.
Tips for Managing Multiple Inventory Locations
As the saying goes, “You can’t manage what you don’t measure.” Keeping your data accurate ensures smoother operations and happier customers.
Managing multiple inventory locations can be tricky at first, but these tips will help you stay organized:
- Keep stock quantities updated: Regularly review and sync inventory to prevent overselling or running out of stock.
- Use inventory reports: Shopify offers built-in reports that show where products are stocked and how fast they’re selling.
- Automate where possible: Use inventory and fulfillment apps to automatically update stock, track shipments, and manage backorders.
- Set fulfillment priorities: You can choose which locations should fulfill orders first based on stock levels or shipping speed.
Common Issues and Quick Fixes
Even with the best setup, you might run into small issues while managing your 3rd-party inventory. If problems continue, a Shopify Expert can quickly identify and fix the root cause, saving you time and lost sales.

Here are some common ones and how to fix them:
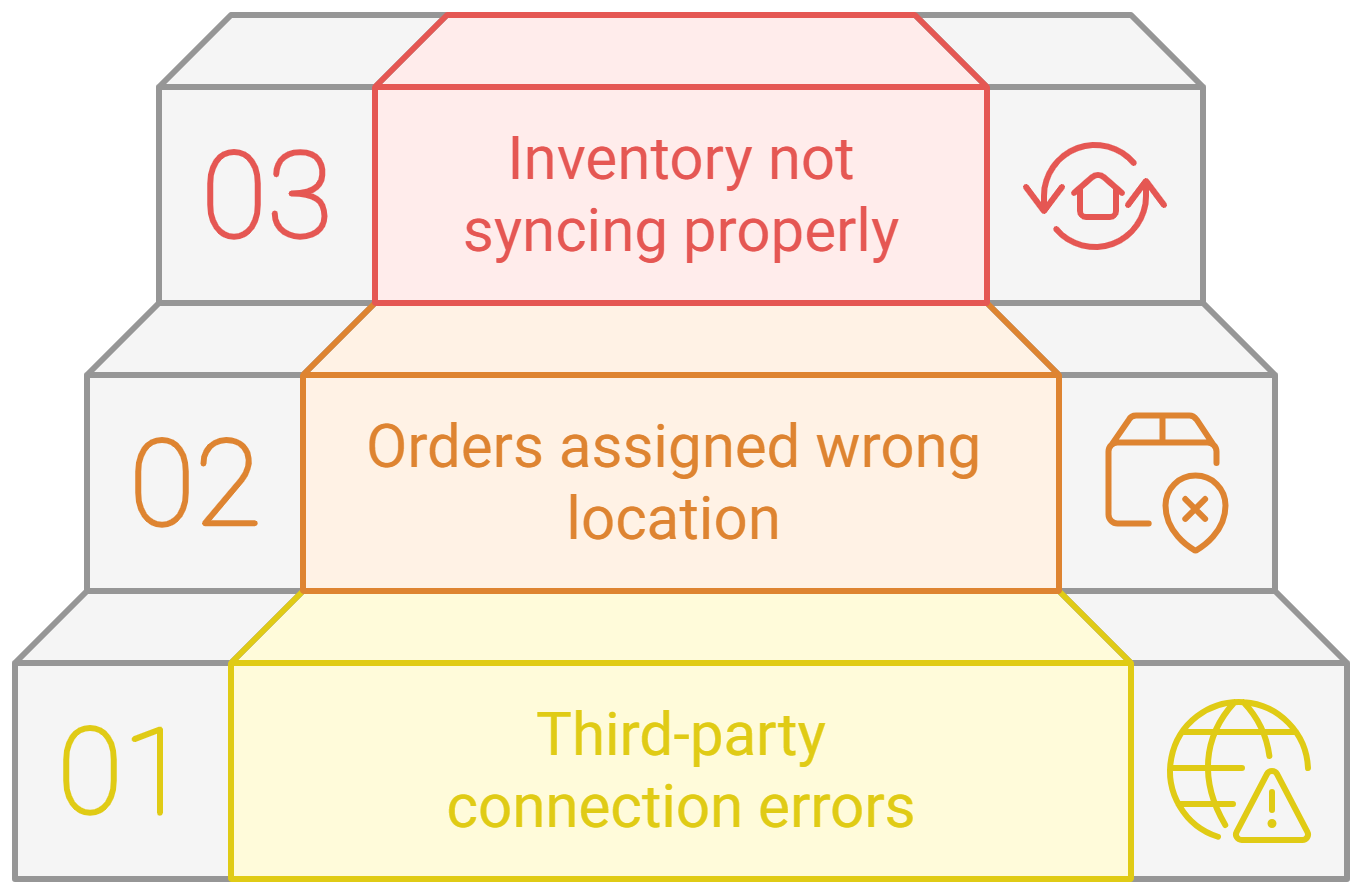
- Inventory not syncing properly:
- Recheck app permissions and refresh your product list.
- Ensure your 3rd-party app is updated to the latest version.
- Orders assigned to the wrong location:
- Review fulfillment priorities in Settings → Locations.
- Check if any product is mistakenly linked to the wrong source.
- Third-party app connection errors:
- Disconnect and reconnect the app.
- Contact the app’s support team for specific troubleshooting steps.
The Bottom Line
Switching your Shopify inventory location to a 3rd-party provider might sound like a small technical step, but it can make a big difference in how efficiently your store runs. With faster fulfillment, better tracking, and more room to scale, it’s one of the smartest moves growing eCommerce stores can make.
Remember to review your setup regularly, keep inventory data accurate, and automate tasks whenever possible.
And if you ever need help customizing your inventory system or integrating advanced fulfillment workflows, a Shopify expert Developer can make the process smooth and error-free.
Start managing your inventory smarter and scale your business with ease.

With a Bachelor’s in Commerce and 15 years of experience in Ecommerce SEO and Shopify Development, I bring extensive expertise to the digital field. As Managing Partner at WillShall Consulting, I lead a team delivering exceptional Digital Marketing, Web Development, and Web Designing services. My passion for innovation and commitment to excellence help businesses thrive in the digital age.
Shopify 3rd Party Inventory Setup


 Call Us
 Email Us
 Video Call

 Our Locations